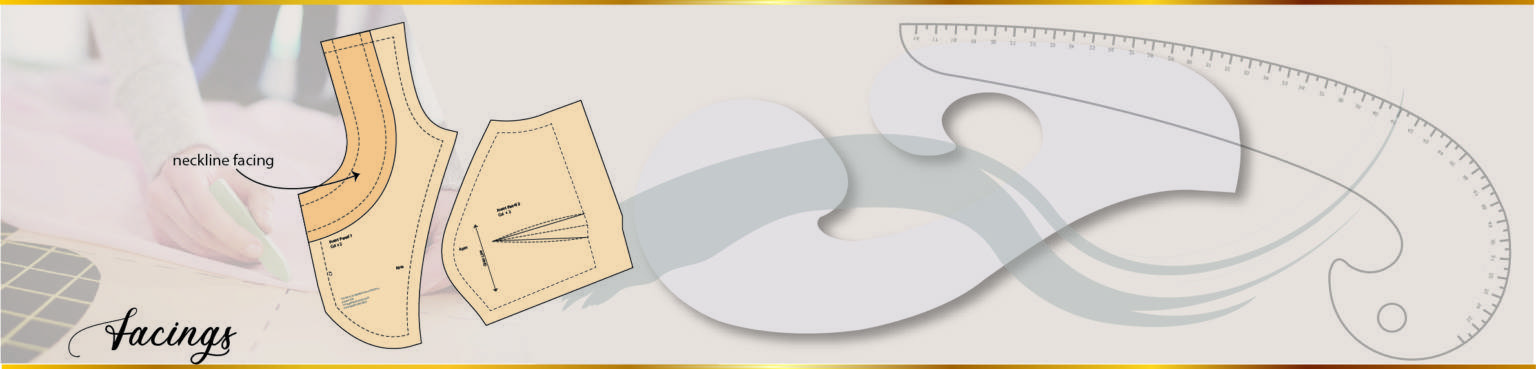
Facings
Mastering the art of creating and sewing facings is essential for achieving exceptional garment outcomes. It’s more than just stitching fabric togetherit’s an art form that enhances the quality and visual appeal of your creations. Sewing facings allows you to add a polished finish to necklines, waistlines, and other openings, like the perfect frame for a beautiful painting.
By honing your skills in sewing facings, you gain the ability to handle different fabrics, navigate curves and corners effortlessly, and achieve a neat appearance inside and outside the garment. It becomes a crucial technique in your repertoire, enabling you to confidently tackle various designs and styles.
Moreover, sewing facings contributes to the overall excellence of your garments. They provide structure, stability, and durability, preventing stretching and maintaining the garment’s shape. This ensures that it hangs beautifully on the body.
Investing time and effort into understanding and acquiring the skill to create and sew facings is invaluable for any dressmaker or fashion enthusiast. It adds finesse and attention to detail, elevating your creations from good to exceptional. By consistently achieving a visually stunning outward appearance, you showcase your talent and craftsmanship, creating garments that are both captivating and long-lasting.
Practice makes you perfect
Lets see how to make facings
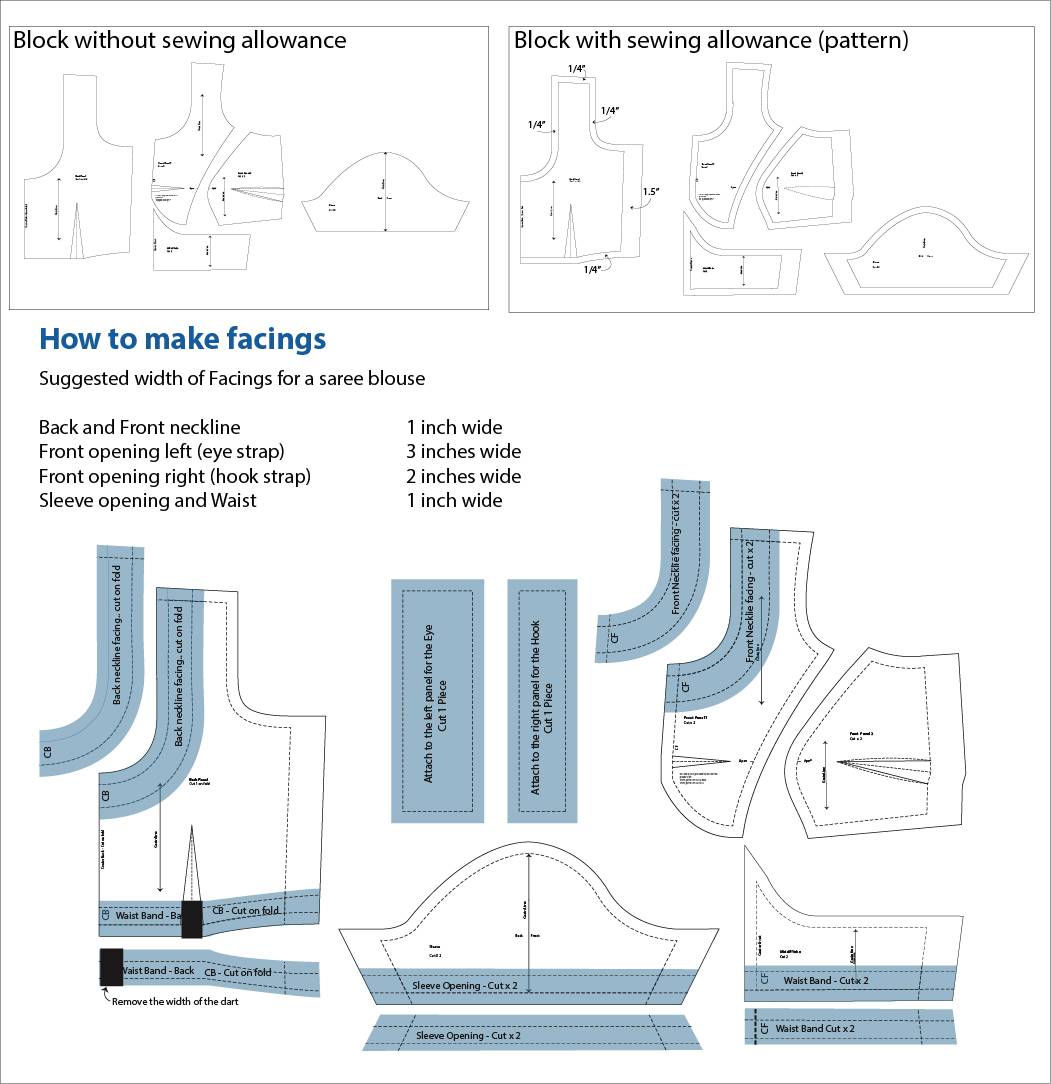
A facing serves as a fabric component employed to neatly complete and reinforce the edges of a garment. They are commonly utilized around armholes, necklines, waistlines, trouser hems, pocket openings, sleeve edges, as well as front and back openings. These facings are typically cut in the same shape as the corresponding garment edge and are positioned on the inside, remaining unseen. In certain instances, facings include interfacing to enhance stability. The seam allowances and grain line of a facing mirror those of the garment itself.
The image provided below is a simple and helpful visual aid for creating facings in garment drafting. To create facings, you can use tracing paper and choose the desired width for the facing. It’s important to note that your pattern should already include a sewing allowance, which is crucial for the facings to match the sewing allowance of the actual garment.
When it comes to neckline facings, they can have varying widths and shapes. In some garments, facings can start from the neckline and extend all the way to the hemline of the garment. This allows for a neat and finished look, as the facing covers the raw edges of the garment.
Here are the steps to make your facings (refer to the image below):
- Place the tracing paper on top of your pattern piece, aligning it properly.
- Determine the width you want for the facing, and mark this width on the tracing paper along the neckline.
- Using a ruler or a curved ruler, connect the marked points along the neckline, creating the shape of the facing.
- Extend the facing from the neckline to the desired hemline, ensuring it matches the length of the garment.
- Make sure to mark all the seam allowance all around the facing piece and mark any necessary markings or notches.
- Cut out the facing pattern.
- Finally, attach the facing to the corresponding garment piece, aligning the raw edges and sewing them together as per the sewing instructions.
Happy Sewing!